


The Importance of Wearing Your Retainer after Orthodontic Treatment
It’s the big day and your braces are finally coming off! Does that mean you are…
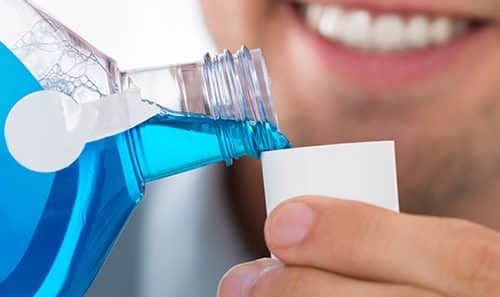
Considerations When Picking the Right Mouthwash
A solid oral health routine begins with daily brushing, flossing, and rinsing. Without a consistent oral…

What Your Braces Rubber Band Color Says About You
However you may feel about having to wear braces, choosing the color of your rubber bands…

Going on vacation? Remember these simple tips!
If you are wearing braces and are planning a vacation, our team at Crichigno Orthodontics would…
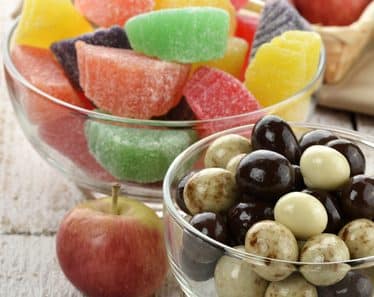
Keep that candy at bay during your treatment!
Now that you have braces, it is more important than ever to maintain good oral hygiene…

Pick the right electric toothbrush!
The electronic toothbrush has undergone several technological advances since the 1960s. Everything from design and bristle…
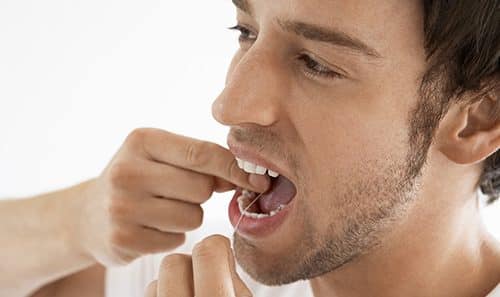
Help! My gums hurt when I floss!
By no stretch is it rare for your gums to hurt during and after flossing. Even…

Summer is Almost Here: Tips for a bright, white smile!
Summer is almost here, which means a season full of vacations, adventures, and great memories is…
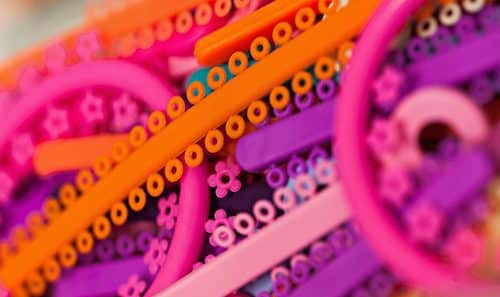
Color Combinations of Elastics for the Holidays
There’s something special about customizing the elastics on your braces to fit your unique personality. Once…

My Mummy had Braces! Weird Facts about the History of Braces
Sometimes real life is stranger and more interesting that any made-up story. These weird and interesting…